Search

Blog

Ingredients –

  1. All-Purpose Flour – 150g
  2. Almond Meal – 60g
  3. Unsalted Butter – 115g
  4. Molasses – 80g
  5. Milk – 240g
  6. Baking Soda – 1 tsp
  7. Vinegar – 1tbsp
  8. Brown Sugar – 100g
  9. Candied Citrus Peel – 80g
  10. Dry Apricot- 80g
  11. Raisins (black n’ Golden) – 70g
  12. Walnuts/Pecans – 70g
  13. Mixed Spices – 1 tbsp
  14. Ginger – 1″- 2″ Piece
  15. Orange Zest – 1 Orange
  16. Vanilla Extract – 2 tsp

Procedure –
1) In a heavy-bottom saucepan over medium heat, add Butter, Brown Sugar, Molasses and half of the Milk. Gently bring it to a simmer.
2) Add Citrus Peel, Chopped Raisins, Chopped Apricot to the pot and mix.
3) Zest the Orange and grate in the ginger with a Microplane into the pan.
4) Add the mixed spices (1 tsp Cinnamon, 1/4 tsp Nutmeg, 1/4 tsp Clove, 1/4 tsp Star Anise)
5) Heat this mixture to a gentle boil for about 1 minute. Then take off the heat and add chopped Pecans/Walnuts.
6) Add Almond Meal, Vanilla Extract and mix.
7) Add the remaining Milk, Vinegar and Baking Soda into the pan. Fold well.
8) Add All-Purpose Flour and fold well.
9) Pour into a prepared 8″ or two 6″ round or 9″x4″ loaf baking pans. And bake in a preheated oven at 170°C for 50-60 mins. Or until a skewer inserted comes out clean.
10) At the 45 minute mark, if your cake is turning too brown from the top, cover it with an Aluminium foil and keep baking.
11) Serve warm with a slight dusting of icing sugar in the top!

Note –
You can easily make this Vegan by using Vegan Butter and Vegan Milk or Water to replace milk.

Ingredients

  1. Milk – 400 ml
  2. Water – 100ml
  3. Cocoa Powder – 30g
  4. Sugar – 70g
  5. Cornflour – 1 tsp
  6. Dark Chocolate (72%) – 50g

Procedure

1) In a heavy bottom saucepan, add Water and Milk.
2) Add Cocoa Powder, Cornflour and Sugar. Whisk until it dissolves.
3) Put the saucepan on medium heat and whisk continuously until the mixture thickens.
4) Take it off the heat and add Dark Chocolate. Whisk until the dissolves.
5) Serve hot with some whipped cream on top.

Note – If your hot chocolate has some lumps, you can strain it before serving.

INGREDIENTS

Cake –

  1. All-Purpose Flour (Maida) – 190g
  2. Baking Powder – 1/2 tsp
  3. Cinnamon Powder – 1 tsp
  4. Vegetable Oil – 50g
  5. Caster/Powdered Sugar – 100g
  6. Brown Sugar – 60g
  7. Thick Yogurt – 60g
  8. Vinegar – 1/2 tbsp
  9. Baking Soda – 1/4 tsp
  10. Milk – 140g
  11. Vanilla Extract – 1.5 tsp

Topping

  1. Apple – 1 medium size
  2. Caster/Powdered Sugar – 50g
  3. Oats – 30g
  4. Butter – 30g
  5. All-Purpose Flour – 20g
  6. Vanilla Extract – 1/2 tsp

Procedure

1) In a bowl whisk together Oil, Caster Sugar and brown sugar together.
2) Add Yogurt, Vinegar, Baking Soda to this. Whisk until it bubbles.
3) Mix together APF, Cinnamon and Baking Powder.
4) Add Milk, Vanilla Extract and APF mix to the batter and fold well.
5) For the topping in another bowl, add Butter, Sugar, APF, Oats.
6) Mix well together into a crumbly mixture.
7) Add chopped Apple & Vanilla and mix well.
8) Pour the cake batter in an 8″ round pan or two 6″ pans or two 6″x3″ bake and serve moulds like in the video.
9) Add topping to it and bake in a preheated oven at 170°C for 40 minutes until the apples are golden brown or until a skewer inserted comes out clean.
10) Serve warm.


Ingredients –

  1. Salted Butter – 170g
  2. Dark Chocolate – 170g
  3. Cocoa Powder – 30g
  4. Caster/Powdered Sugar – 240g
  5. Eggs – 4
  6. All-Purpose Flour (Maida) – 100g
  7. Walnuts – 80g
  8. Chocolate Biscuit for the crust – 220g
  9. Cream Cheese – 90g
  10. All-Purpose Flour for topping – 1 tbsp
  11. Nutella – 80-100g (Your choice)
  12. Chocolate Biscuit for top

Procedure –

  1. In two bowls, Melt Butter and Chocolate separately. Let the chocolate cool a little bit.
  2. Combine the two and whisk well.
  3. Add Cocoa Powder and whisk well.
  4. Add Eggs to this and whisk until the mixture is smooth.
  5. Add Sugar and combine till smooth.
  6. Add APF and mix until a thick smooth mixture.
    If you feel that the mixture is too tight, add some milk or water until it feels smooth like a thick Lava.
  7. Line a 10″ square pan with parchment paper. Preheat oven at 180°C
  8. Crush chocolate biscuits to a sand-like powder. Spread it equally to the base on the pan. Press down.
  9. Evenly spread the brownie batter on top.
  10. Whisk softened cream cheese with 1 tbsp of APF.
  11. Dollop that on top of the brownie batter along with dollops os Nutella.
  12. Using a skewer or fork, swirl it around.
  13. Add broken pieces of toasted walnuts and biscuits on top.
  14. Bake at 180°C for 30-35 minutes.
  15. Cool it down a bit before cutting into it.

INGREDIENTS

  1. Eggs – 2
  2. Powdered / Caster Sugar – 200g
  3. Oil – 125ml
  4. All-Purpose Flour – 240g
  5. Baking Soda – 1 tsp
  6. Baking Powder – 1 tsp
  7. Milk – 70ml
  8. Vanilla Extract – 2 tsp
  9. Ripe bananas – 5 (medium-sized)
  10. Milk Chocolate pieces (couverture) – 80g

PROCEDURE

1) Sift together All-Purpose Flour, Baking Powder, Baking Soda. Keep aside
2) Whisk eggs with sugar until light and fluffy.
3) Add oil and whisk well.
4) Add flour mix little by little, alternating with milk to form a batter.
5) Mash bananas and add to cake batter. Mix well.
6) Pour batter into a 9″×4″ Loaf pan or 8″ Cake pan and top with pieces of Milk Chocolate.
7) Bake in a preheated oven at 180°C for 40-45 mins (for loaf pan) 30-35 minutes (for round 8″ pan). OR until a skewer inserted comes out clean.
Let it cool a bit. Serve warm.

INGREDIENTS:

  1. Butter- 70 g
  2. Caster / Powdered Sugar – 100 g
  3. Egg – 1
  4. Vanilla Extract – 1.5tsp
  5. All-Purpose Flour (maida) – 90 g
  6. Baking Powder- 1 tsp
  7. Salt – ¼ tsp (Skip if using Salted Butter)
  8. Milk- 60 ml
  9. Lemon Zest – 1 small lemon

PROCEDURE:

1) In a large bowl, with a beater, cream the butter and sugar together until it becomes smooth and stiff
2) Add Egg, Lemon Zest & Vanilla Extract and beat again
3) In a separate bowl, sift together the dry ingredients – Flour, baking powder.
4) Fold the flour mixture to the wet batter half at a time
5) Then fold in half of the milk
6) Repeat until everything is incorporated
7) Line a 6 slot cupcake tray with liners and spoon in the batter ¾th so as to leave space for rising
8) Bake it in a pre-heated oven at 180 degrees C for 18-20 minutes (or until a toothpick comes out clean)
9) Cool completely before frosting.

INGREDIENTS

Cake batter –

  1. Butter – 120g
  2. Caster/Powdered Sugar – 80g
  3. Condensed Milk – 100g
  4. All-Purpose Flour (Maida) – 115g
  5. Cocoa Powder – 15g
  6. Baking Powder – 1/2 tsp
  7. Vinegar – 1/2 tbsp
  8. Red Food Colour – 3-4 drops or as much as you want.
  9. Vanilla Extract – 1.5 tsp

Topping –

  1. Cream Cheese – 200g
  2. Caster/Powdered Sugar – 50g
  3. Corn Flour – 1 tbsp
  4. Water – 3 tbsp (45g)
  5. Vanilla Extract – 1 tsp

PROCEDURE

  1. Beat soft almost melted Butter and Sugar together with a whisk
  2. Add condensed milk and whisk.
  3. Add All-Purpose Flour, Cocoa Powder, Baking Powder to this mixture and mix well
  4. Add red food colour and mix till your desired colour is achieved. Do not go overboard.
  5. Add Vinegar & Vanilla and mix well. Set this mixture aside.
  6. In another bowl, beat softened cream cheese with sugar till nice and combined.
  7. Mix cornflour with water and add that, and Vanilla Extract to the cream cheese mixture.
  8. Preheat oven to 170 deg. C
  9. Add most of the cake batter to an 8″ pan. Then layer the cream cheese topping. On top dollop the remaining but of cake batter and swirl around.
  10. Bake for about 30-40 minutes till the top is set and the centre 1″ is slightly soft.
  11. Let it cool down completely before cutting into it.

Ingredients

  1. Vanilla Beans – 6
  2. Clear Vodka (at least 40%) – 300 ml
  3. Edible Vegetable Glycerine – 300 ml

Procedure –

  1. Mix Vodka and Edible Glycerine together.
  2. Make sure to use a clear unflavoured Vodka. You can also use Bourbon or Single Malt Whiskey but it might have a more pronounced flavour of its own. This is why I prefer Vodka because it is so neutral.
  3. Split the Vanilla Bean with a sharp knife and scrape out the seeds from the other side of the knife.
  4. Pour the liquid in a clean and dry bottle and put seeds and beans in there.
  5. Give it a shake every now and then.
  6. It will be ready to use in 4-5 months. But the ideal would be to use it around the 8-9 month mark.
  7. Store in a cupboard away from direct Sunlight or Moisture.

Ingredients –

  1. Dark Chocolate – 100g
  2. Milk Chocolate – 150g
  3. Salted Butter – 100g
  4. Condensed Milk – 400g
  5. Caster /Powdered Sugar – 40g
  6. All-Purpose Flour (Maida) – 100g
  7. Cocoa Powder – 35g
  8. Baking Powder – 1/2 tsp
  9. Hot Water – 250g
  10. Instant Coffee Powder – 2 tsp

Procedure –

  1. Melt both chocolate slowly over a double boiler or microwave in 30s bursts.
  2. Add melted butter to Chocolate and whisk well.
  3. Add room temperature condensed milk, & Sugar and whisk together.
  4. Add All-Purpose Flour, Baking Powder, Cocoa Powder and fold.
  5. Mix Coffee Powder with Hot Water and add it to the brownie mixture. Make sure the water is hot otherwise the mixture will go lumpy.
    Add a little at a time. You may or may not need all of the liquid. Judge by the consistency of the batter. It should be thick and Lava like.
  6. Line a 10“ square baking tray with parchment paper. And pre heat oven to 170°C.
  7. Add the crushed biscuits to the base and press down.
  8. Pour the batter on to the base and bake for around 40 minutes.
  9. You can take the brownie out of the oven when it is set almost all around the top surface and the very center 1“ is still jiggly. Then let it cool down at room temperature completely before unmounting.
    You should not insert a skewer into the brownie-like other cakes, because brownie needs to be a bit wet when it comes out of the oven, otherwise, it won’t be fudgy.
  10. Cut with a large knife and serve.

Hey everyone!
#Yeast #BreadTalks

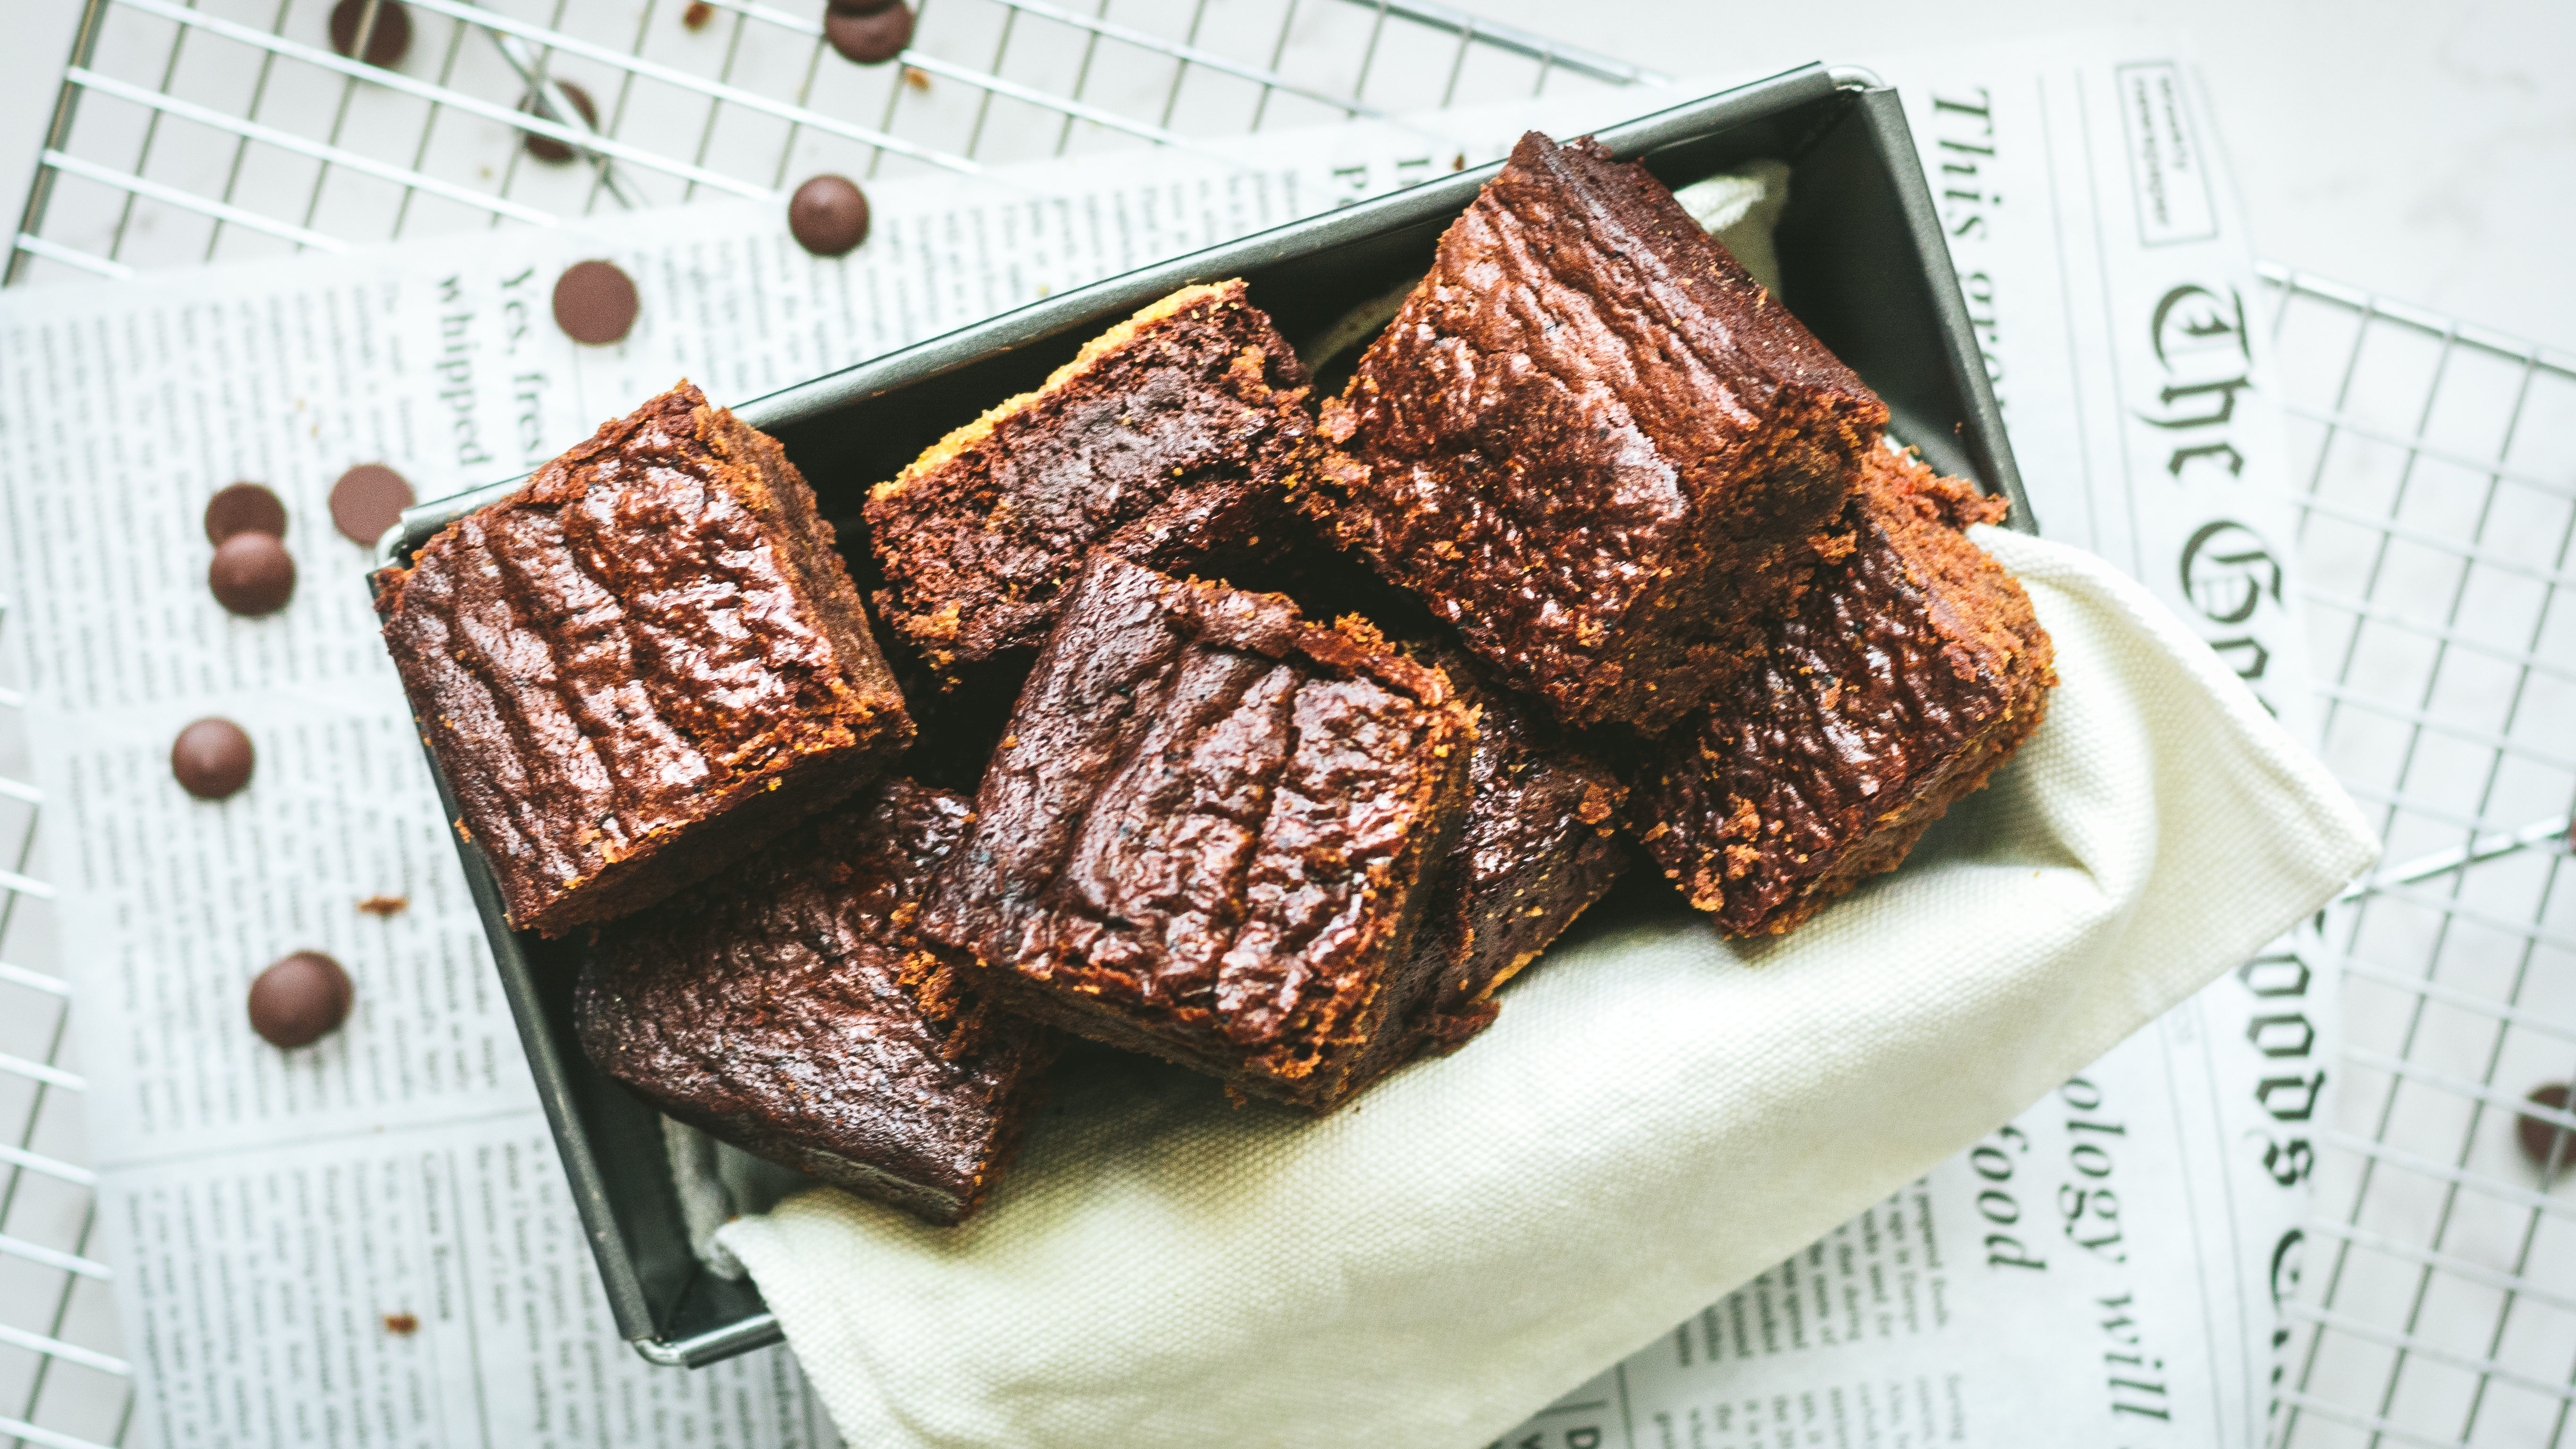
Bread is food, not a treat!

Let us talk and understand the aspect of YEAST in Bread making!
It is a long post, read with patience!

With soooo many breads that I am posting every day I thought of having a live chat on yeast and flour yesterday. For those of you who missed it, here is the link to the video –
https://www.facebook.com/smritis.special/videos/1078740932286810/

Now let’s talk about Bread.
(Consider the following as my understanding and not some scientific definition)

What is BREAD?
When a mixture of Flour, water and salt is baked, it gives you bread.
As simple as that.

There can be two categories of bread –
1. LEAVENED BREAD
This mostly includes all the breads that are made to rise with the help of carbon dioxide.
2. UNLEAVENED BREAD
This is the bread which is not made to ferment or rise. This category includes all of you Flat Breads like Roti, Pita, Lavash, Naan etc.

Leavened Bread is what we are going to talk about. It can be divided into two categories –
1. YEAST BREAD 
This includes all breads made with carbon dioxide due to fermentation of Yeast. 
2. SODA BREAD 
This includes all breads made with carbon dioxide due to reaction between baking soda and some acid like lactic acid (buttermilk) or citric acid (lemon), acetic acid (vinegar).

Yeast Bread can further be divided into two categories –
1. SOURDOUGH BREAD 
These are made with naturally available wild yeast captured from the environment. 
2. COMMERCIALLY YEASTED BREADS 
These are made with readily available commercial yeasts.

Sourdough is a whole discussion in itself which we will do in a future post.
Today we’ll talk about Commercially Yeasted Breads.

What is YEAST?
Let’s go back to our middle school days when we learned about single cell organisms. Remember?
Yeast is microscopic single celled fungus (so it’s a plant!) that reproduce by fission (Multiplying on it’s own). It grows with the help of sugar by converting it into alcohol and carbon dioxide.

This reaction of yeast, is what we bread bakers use to make bread. The carbon dioxide is trapped in the bread which gives a light texture and the alcohol adds flavour.

Here’s a video of how yeast grows and multiplies – 
https://www.youtube.com/watch?v=GFEgB_ytDZY

These are the various varieties of Commercial Yeast –
1. FRESH
This is yeast in the liquid form. This needs to be stored in the refrigerator or freezer. This needs to be dissolved in water and activated before use.
2. ACTIVE DRY / DRY
This is the dehydrated version of fresh yeast. This also needs to be dissolved in water before using.
3. INSTANT
This is also a dehydrated fresh yeast which has some added yeast enhancers to make the yeast grow faster. This does not need to be dissolved in water.
4. RAPID RISE 
This is an instant yeast which is loaded even more with yeast enhancers which makes it grow ‘rapidly’. This does not need to be dissolved in water.

After forming a dough with yeast, what is the importance of first proofing?
First proofing is to develop the flavour of the dough. Slow and steady rise of yeast will give maximum flavour to the bread. Being in a hot country it is best to slow rise the dough in the fridge. This is called cold fermentation. 
The slow rise also helps the yeast break down the complex carbohydrates in the wheat which makes it easier for our body to digest it.
When the dough rises too fast, there is not enough time for the yeast to break down the carbs of wheat. Therefore, although you will get a nice looking bread, but you will not get much nutrients from it.

This is why, I recommend you use lesser instant yeast than active dry in a recipe and even lesser rapid rise. By using lesser yeast and cold proofing the dough, it will be much better for your health.

There you go! 
I hope you feel a little closer to yeast now and don’t find it too difficult or intimidating to use.